Ok.....Started on Friday, removing my old herculiner roll-in bed liner....to start fresh, and also do my rocker panels in red..
i first did my bed of my truck with Herculiner back in summer 2004.
I did not prep enuff..i didnt sand down it enuff and after many years of use...it began to fade odut and peel in areas.
Starting today...i am removing all the herculiner off the bed....and going to reapply it correctly and thicker!!
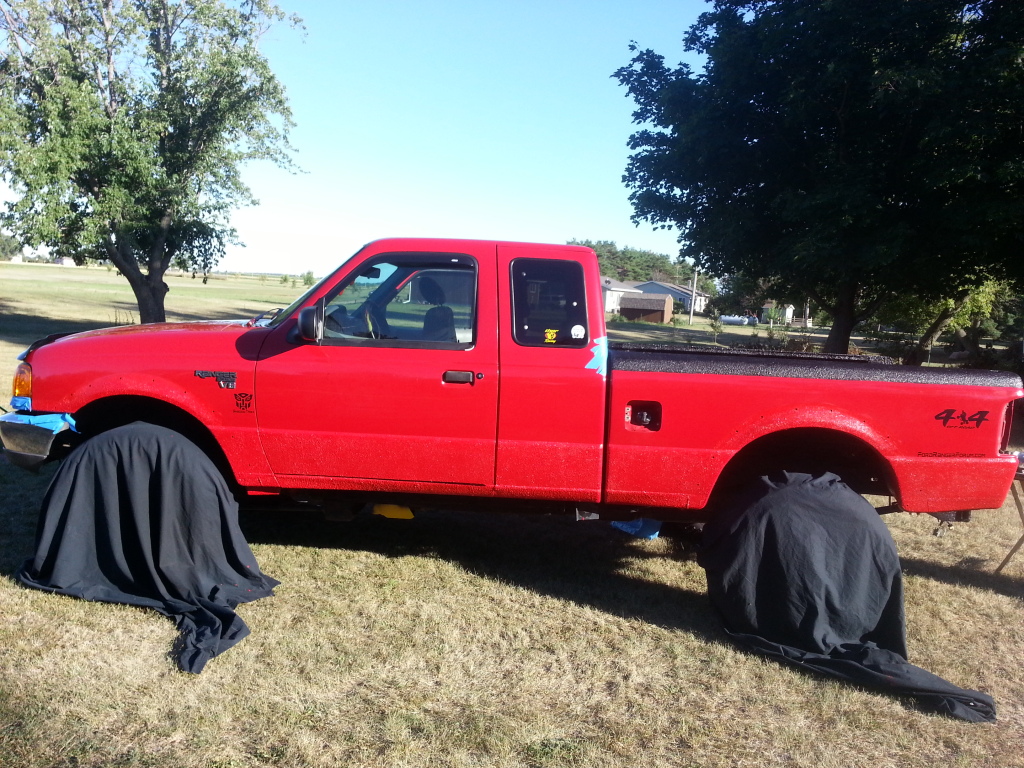
Removed my fender flares..and rusty gas door
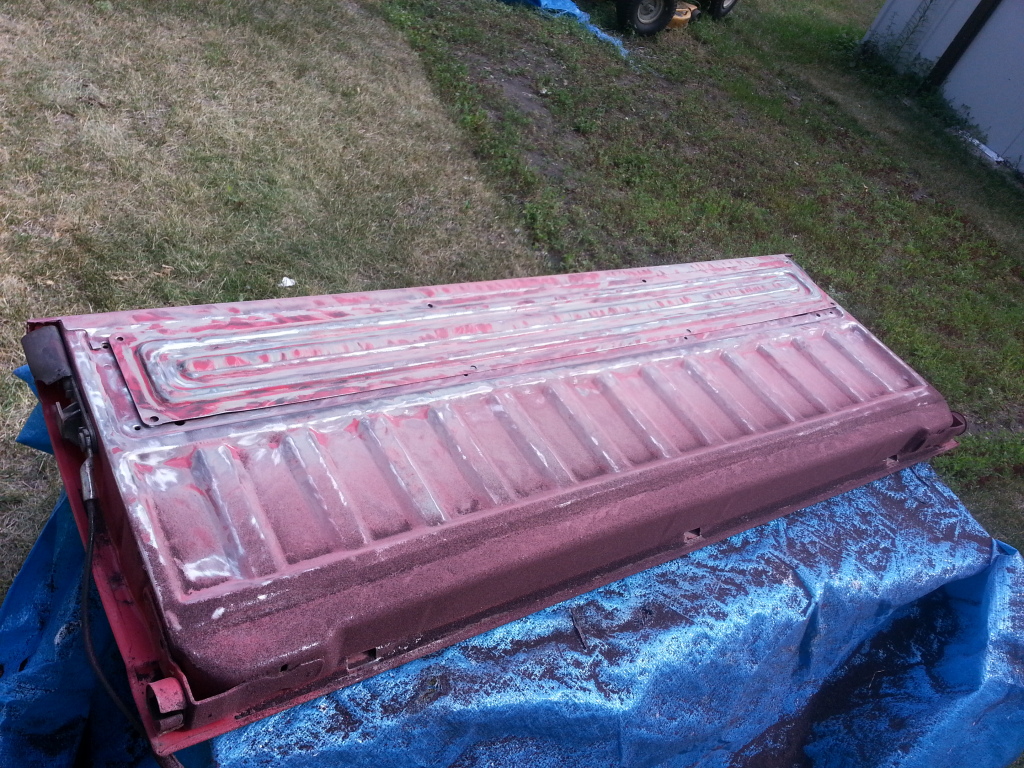
Removed tailgate and rear bumper..
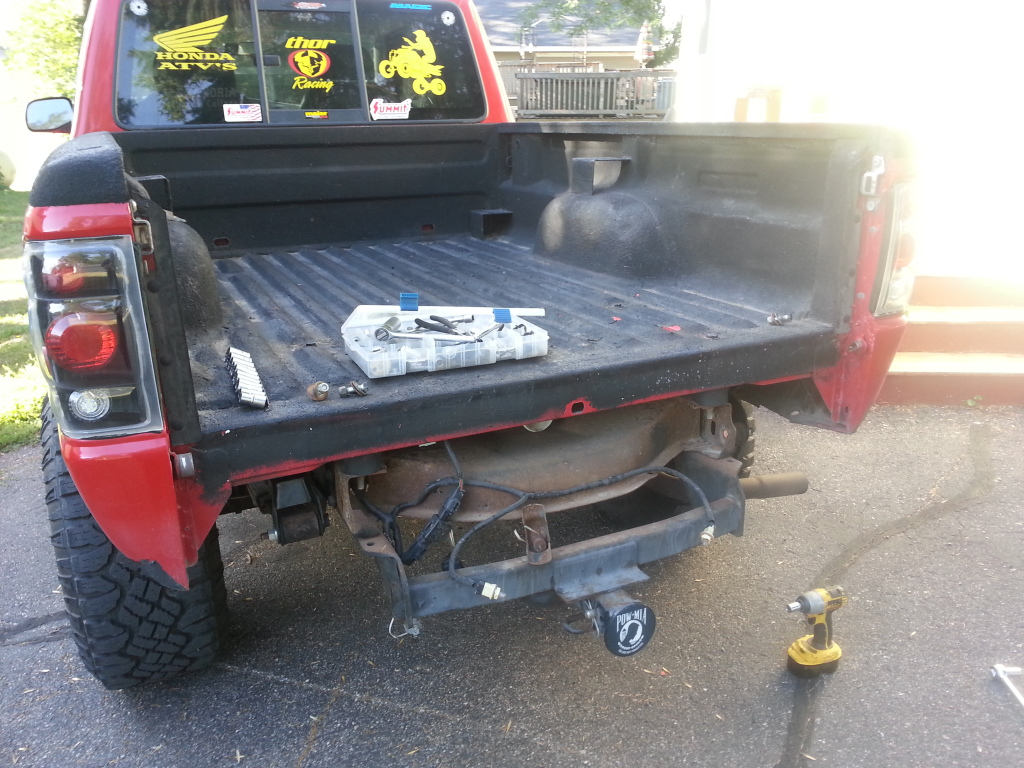
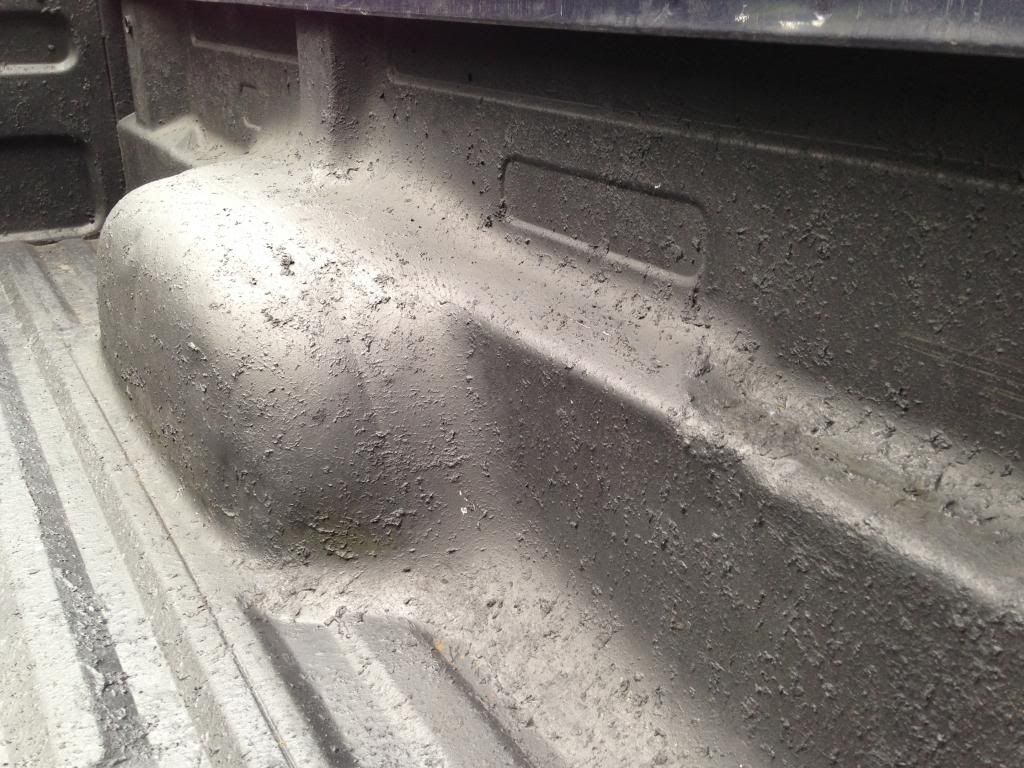
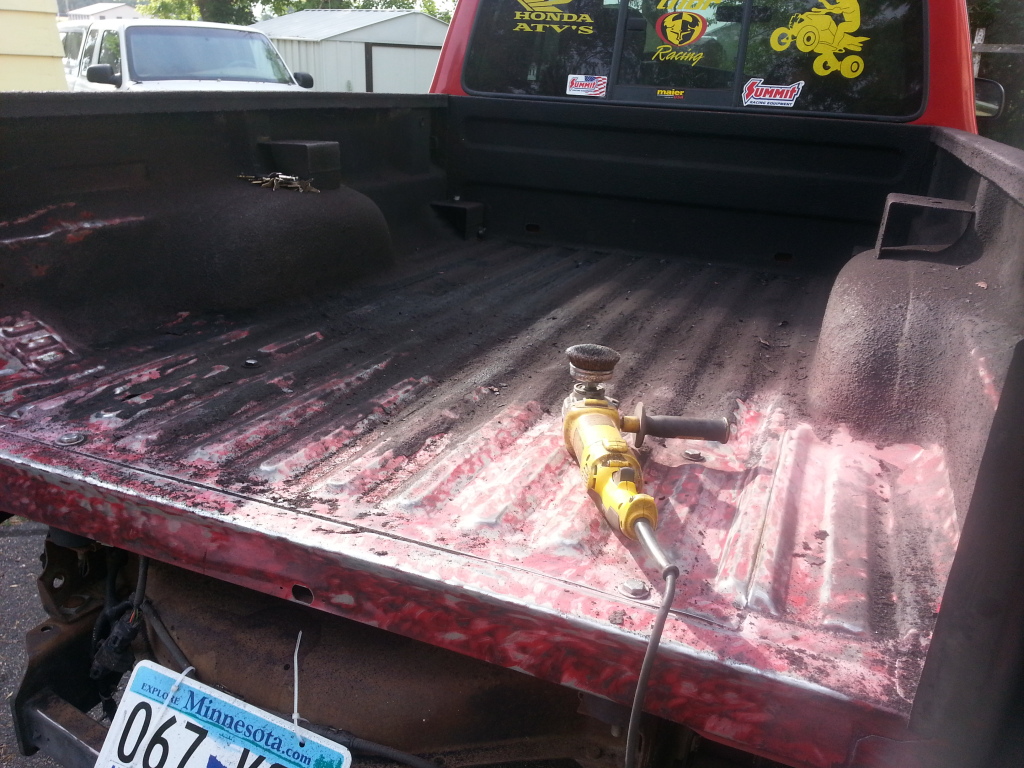
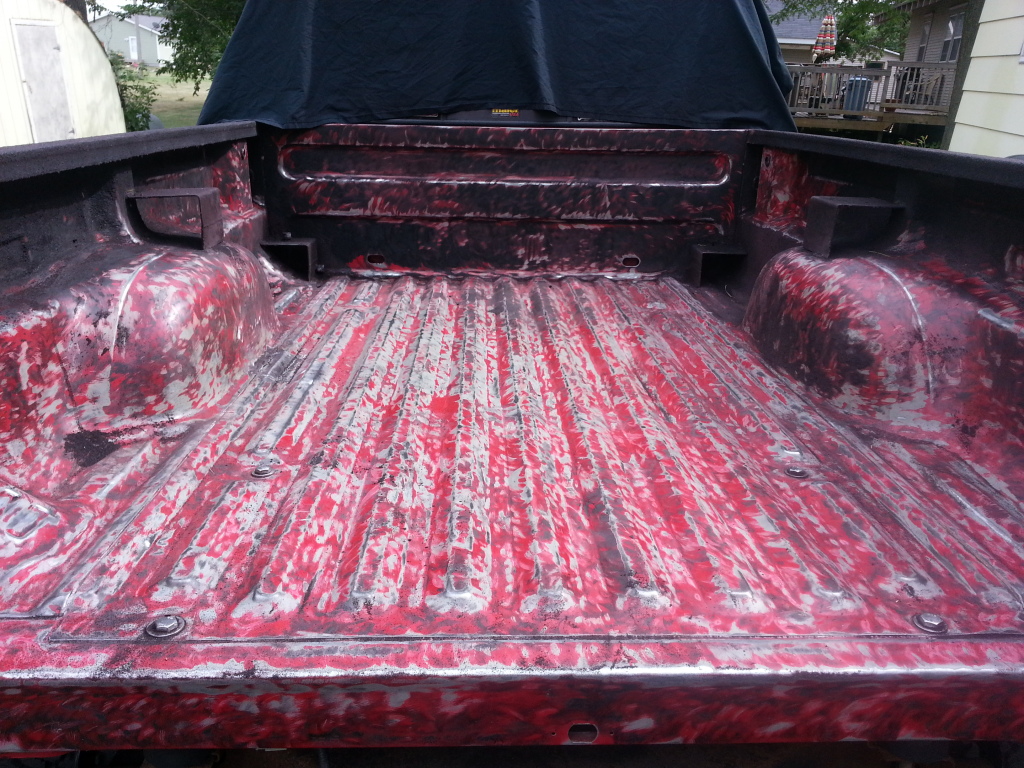
After about an hour of an angle grinder and wire brush on it..
This is a reminder...when doing the DIY bedliners make sure u sand and prep...do it well...or else...
Not sure if i will get this completed by sunday or not..lol..lot of work..
----------
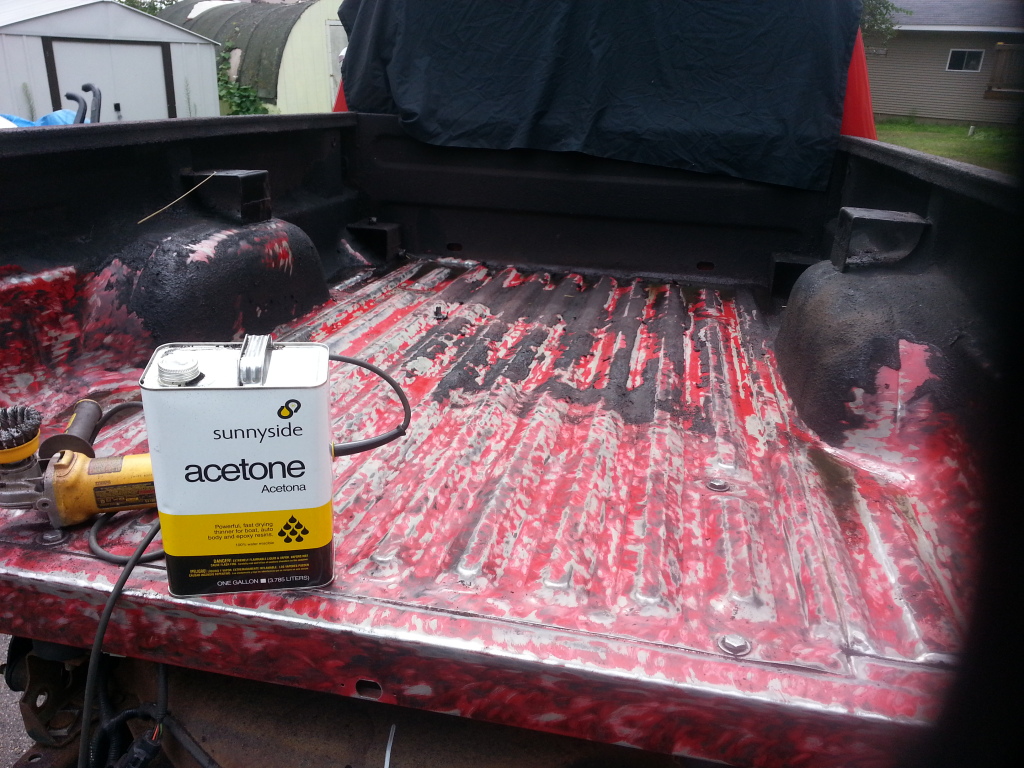
Ok a few hours later and a trip to town on the motorcycle to get more Acetone and another wire brush...this time a knotted wire brush...seems to work alot better..
----------
Im not going to remove the bedliner on the bed rails...when i did those 2 yrs ago i did those the right way...plenty of prep...
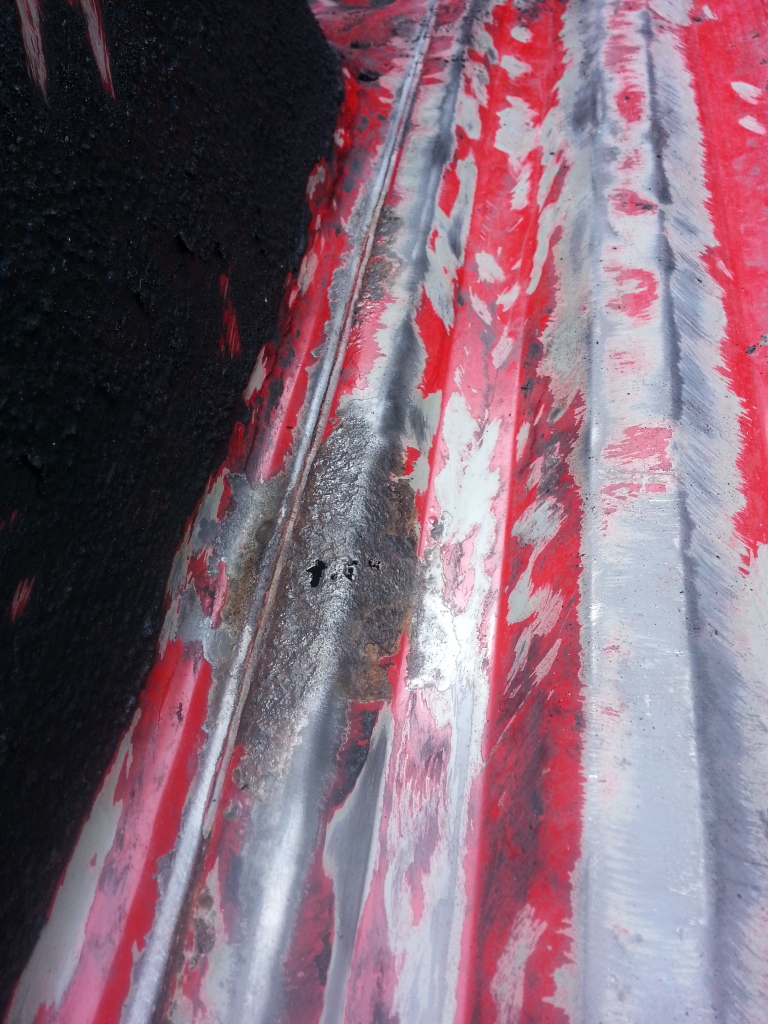
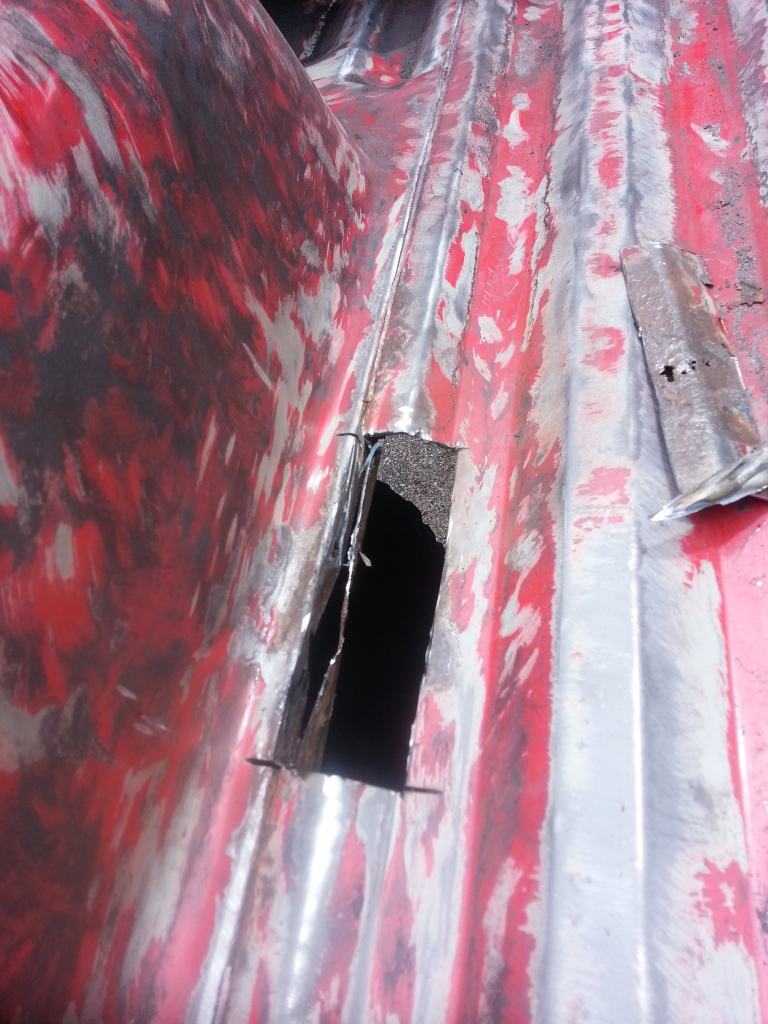
I do have one thin rust spot and a hole on the bed by the drivers fender wheel well...
Not sure if i want to just roll the bed liner over it or weld and fill it in...
----------
This was painful...not easy to do..cut out the spot.
----------
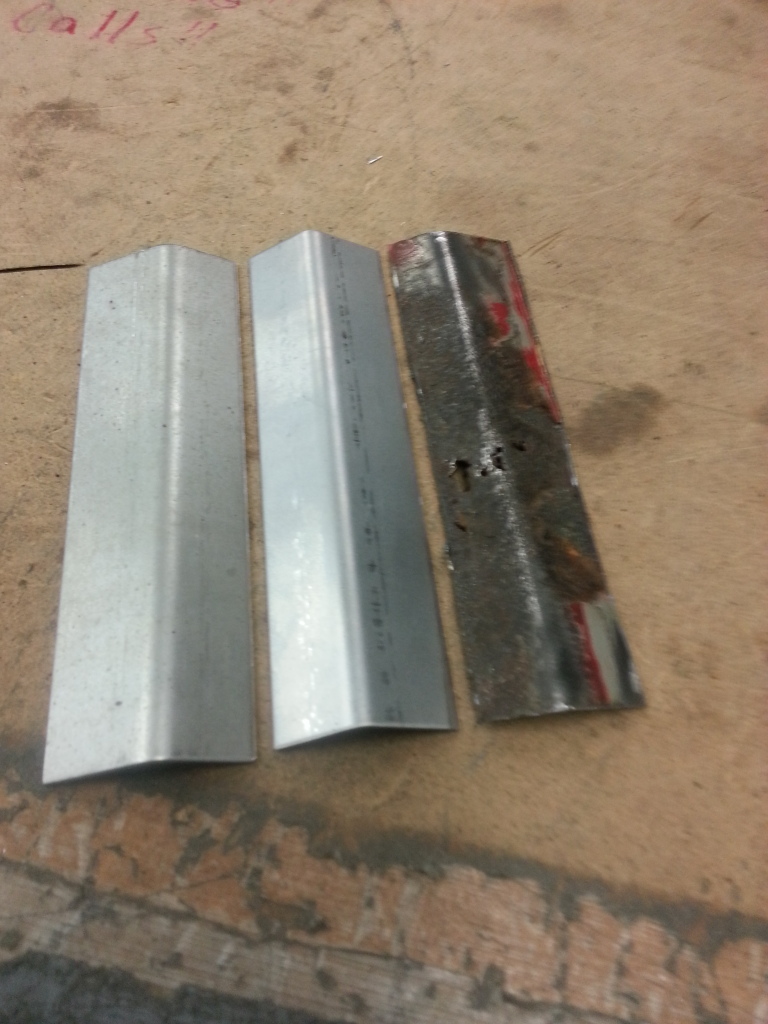
New piece to weld in..made two so i have one to test on..lol.
----------
Ok im not use to this crappy flux core welding...i didnt do a professional looking job...and its hard to get up in those ridges and grind...but i think it will be fine once it gets several layers of bedliner on it...
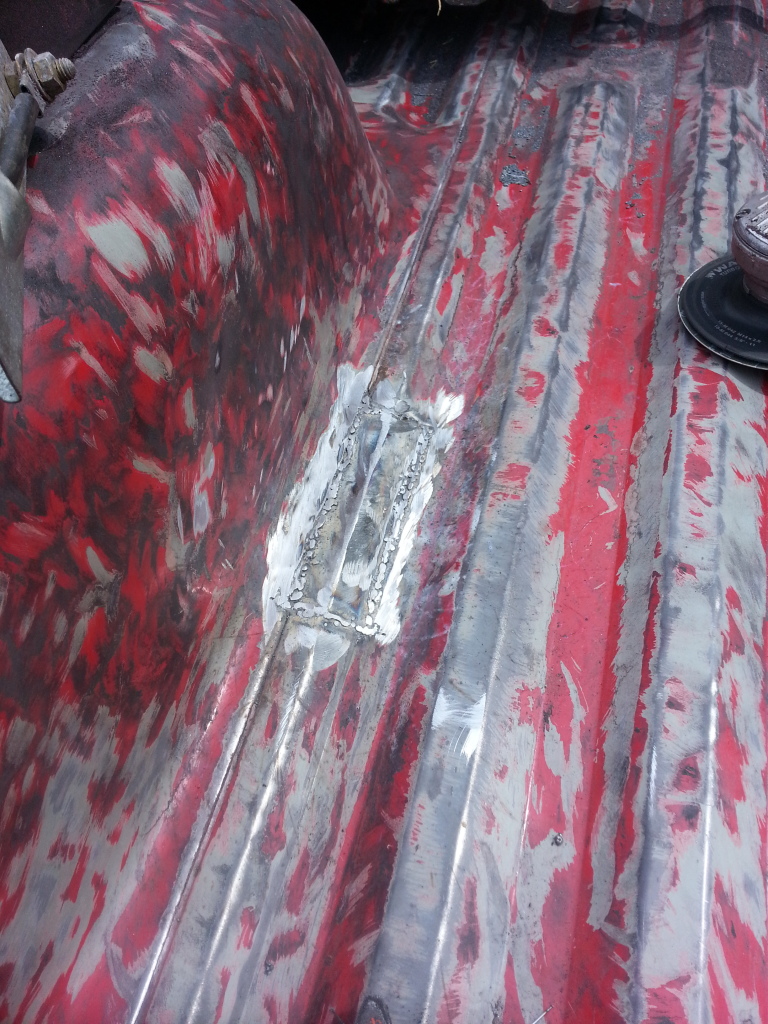
Ok now i gotta get back to removing the old bedliner off the front part of the bed....
----------
The tailgate and bed are done, I'm taking the truck to the car wash to wash them off.
When i get back i will start prepping the rocker panel sides.
----------
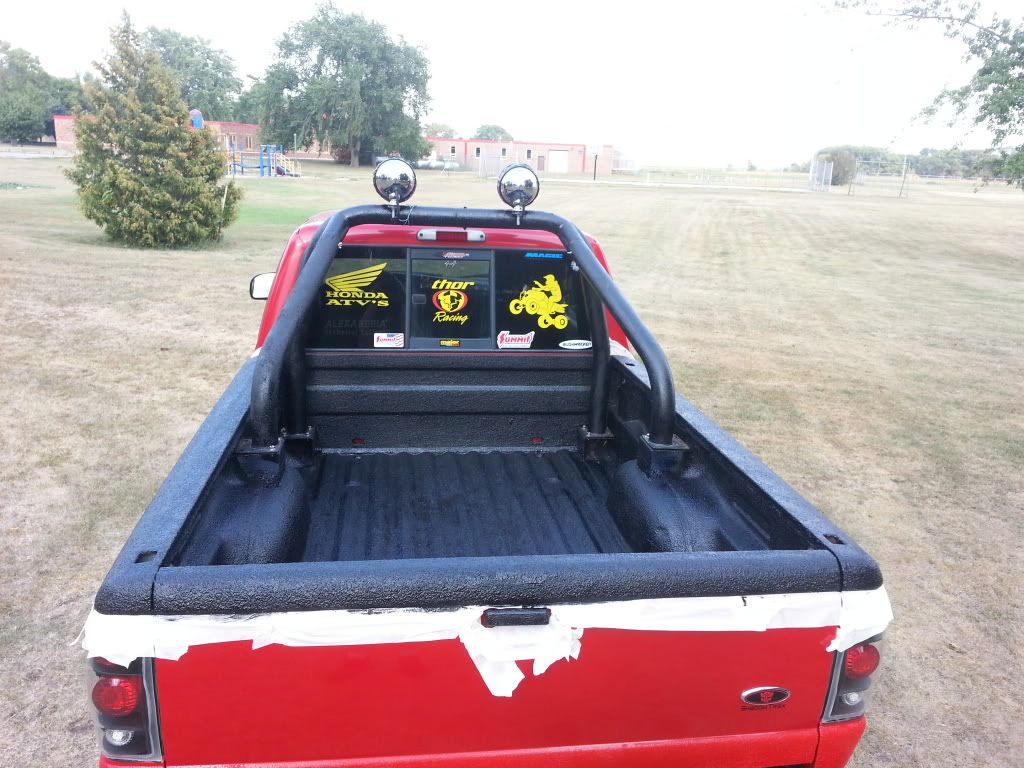
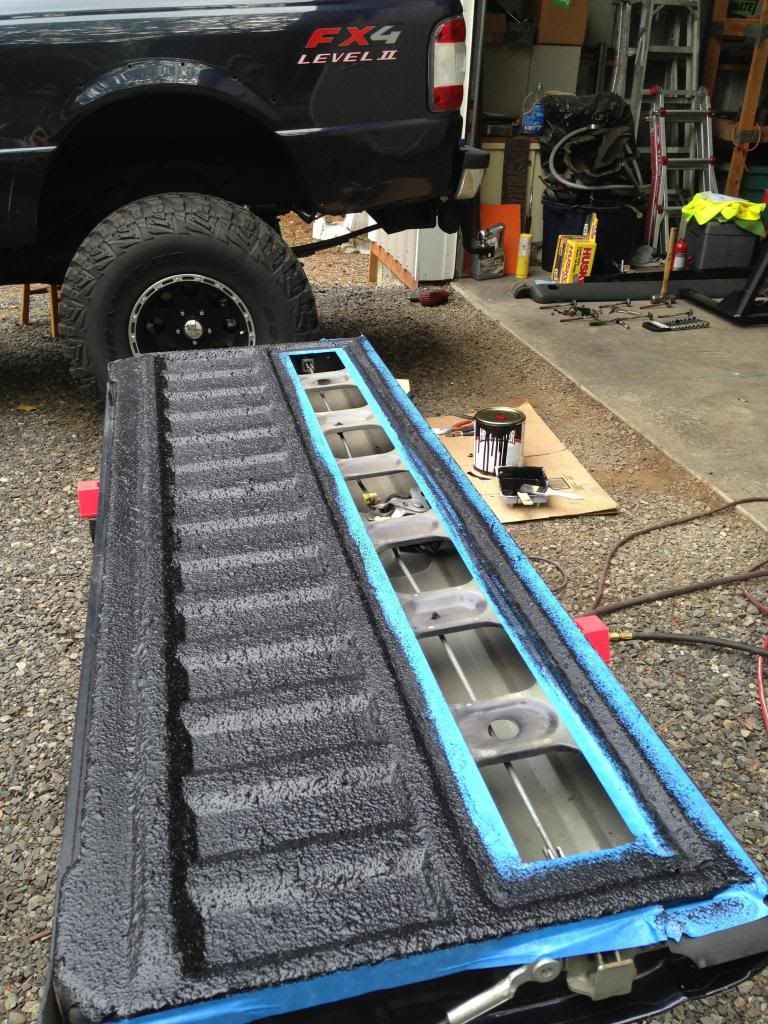
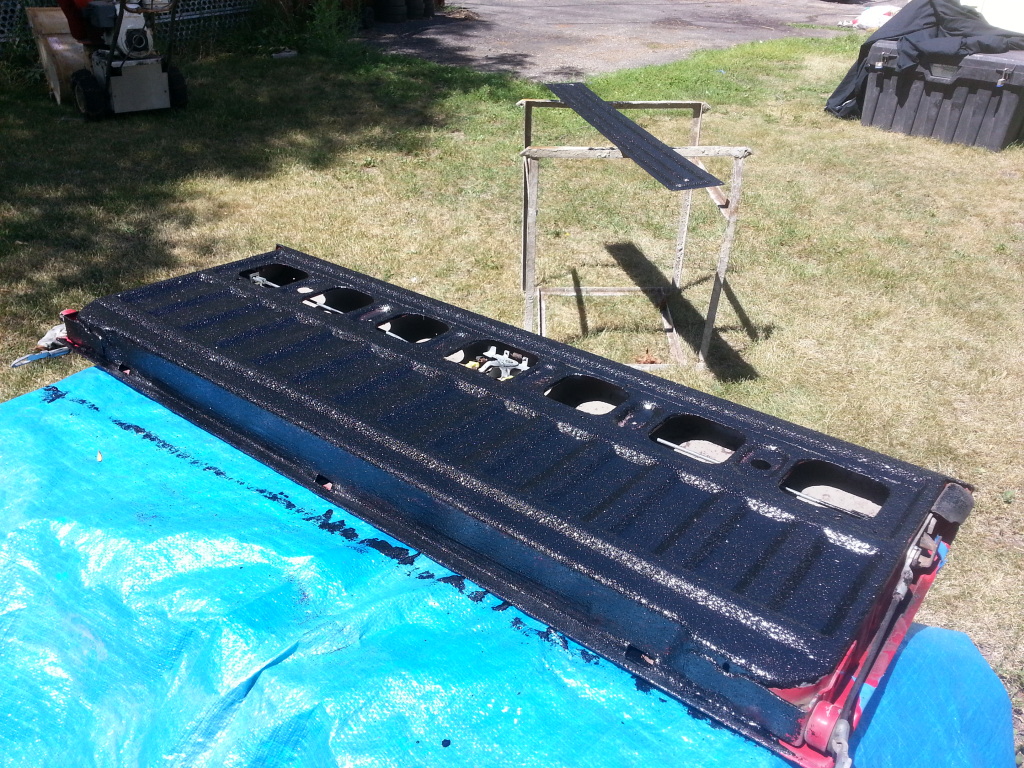
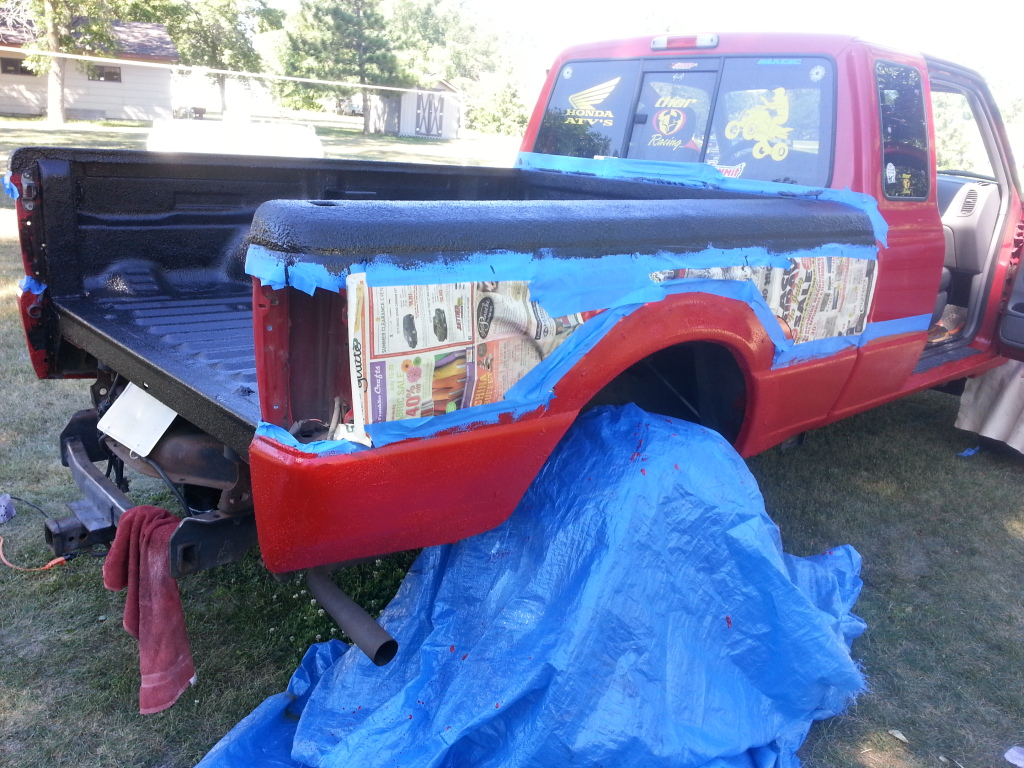
Ok i got the 1st coat onto the bed, bed caps, and tailgate...
They say one gallon is enuff to do one 6foot bed....yeah maybe two light coats...
Ive used 3/4 of one gallon..thankfully i planned ahead for going thick, so i have two gallons.
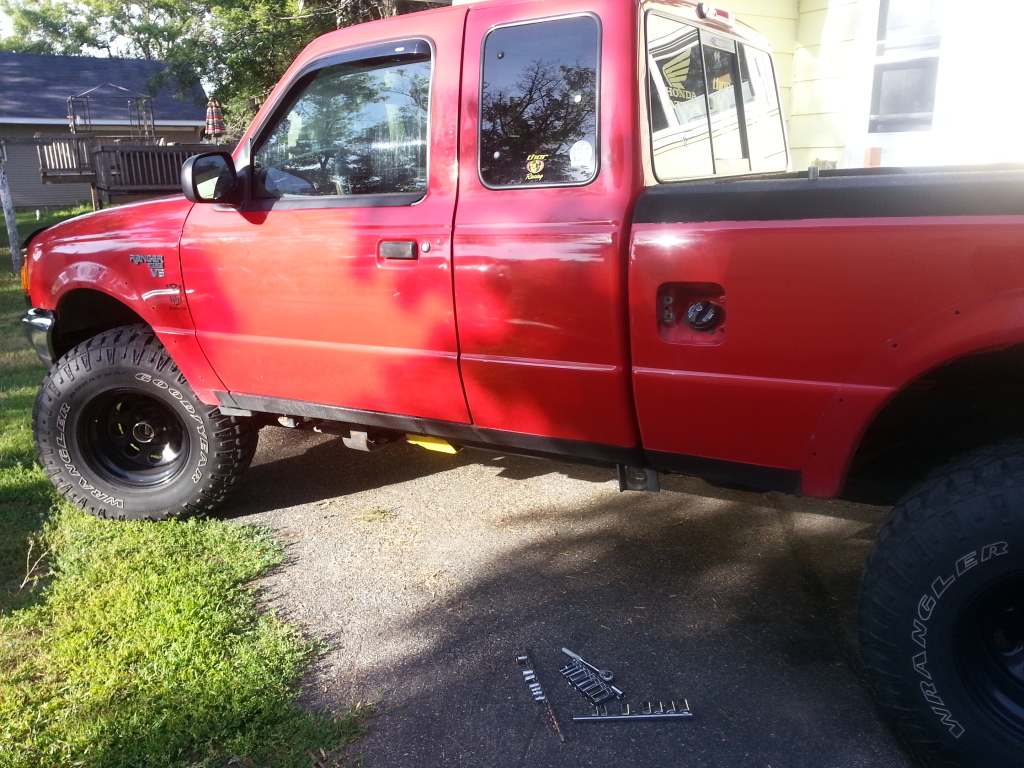
Going to start sanding down the rocker panels for the red Durabak brand bedliner while the black first coat dries..

----------
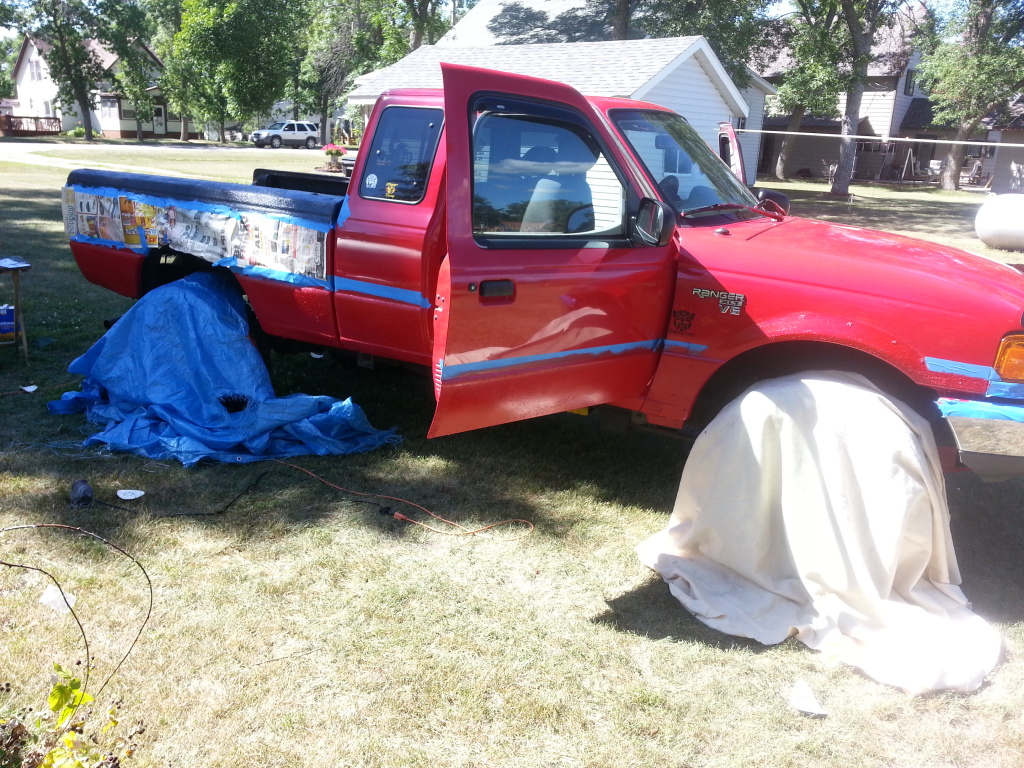
Got the side panels prepped..
----------
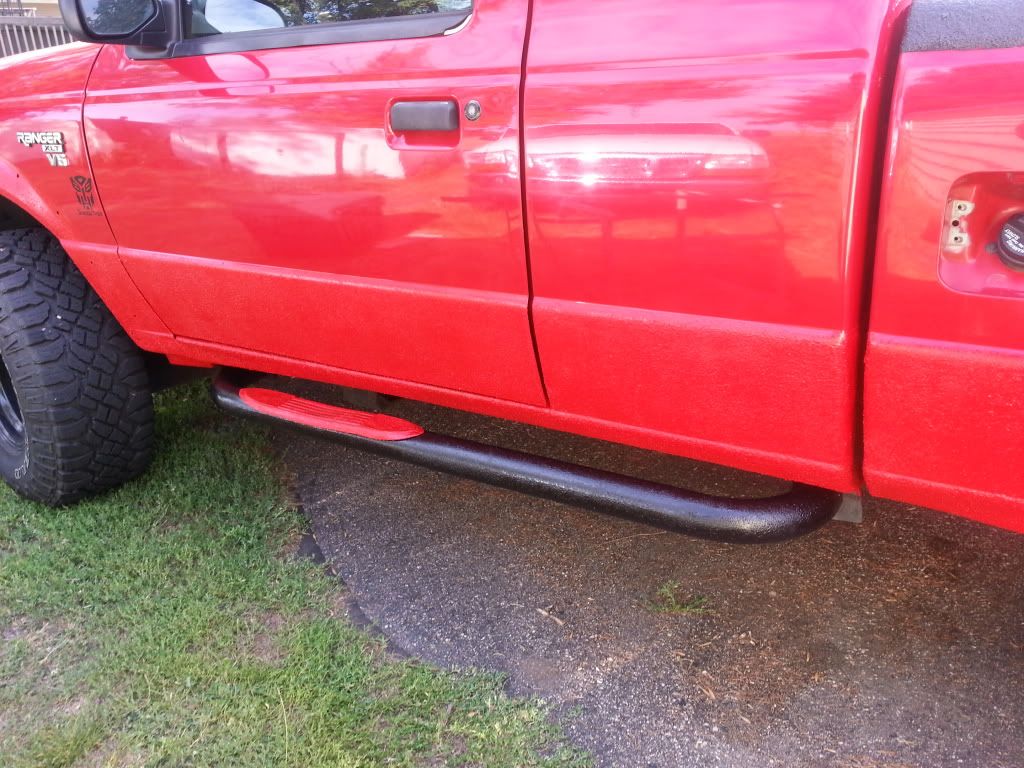
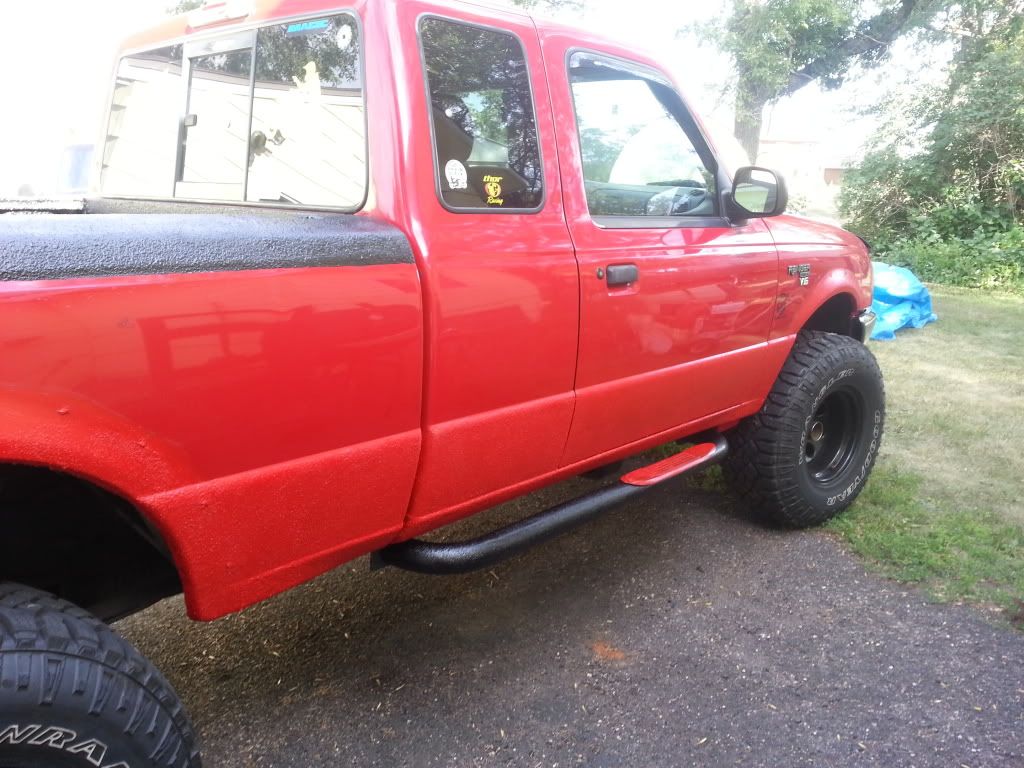
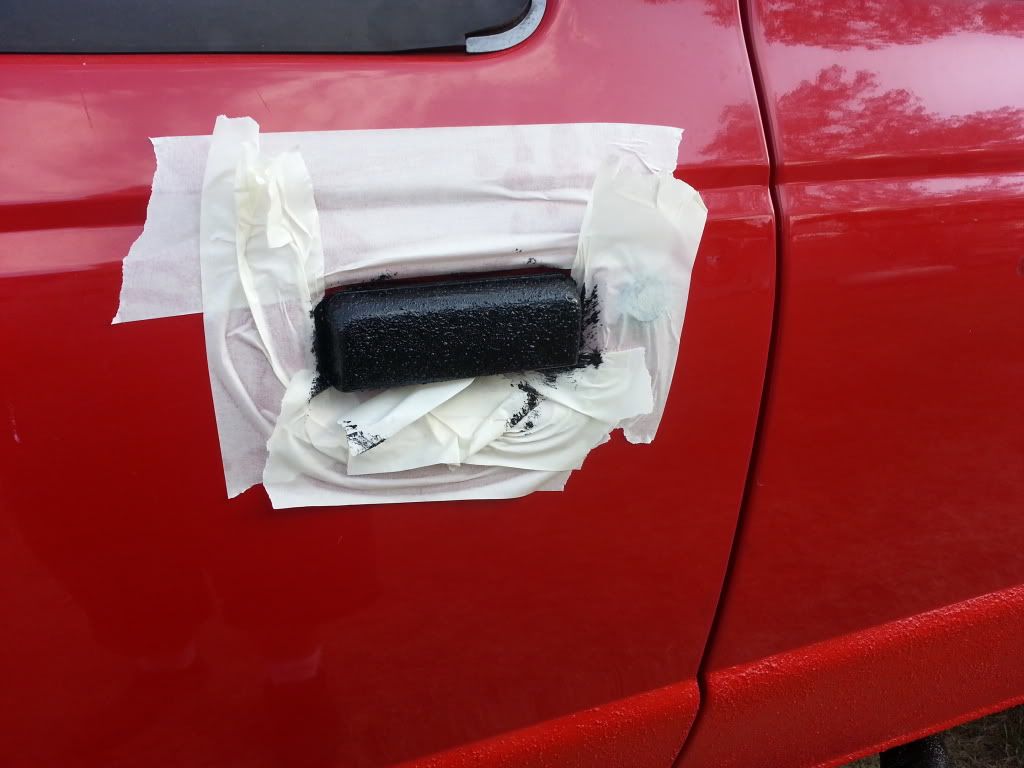
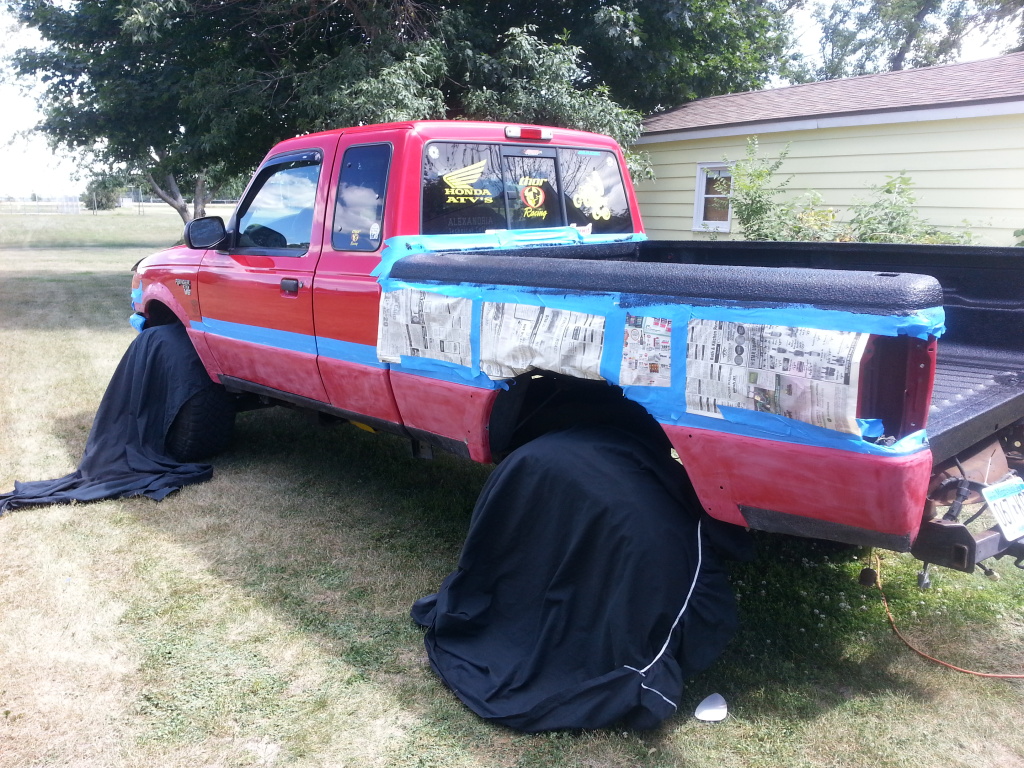
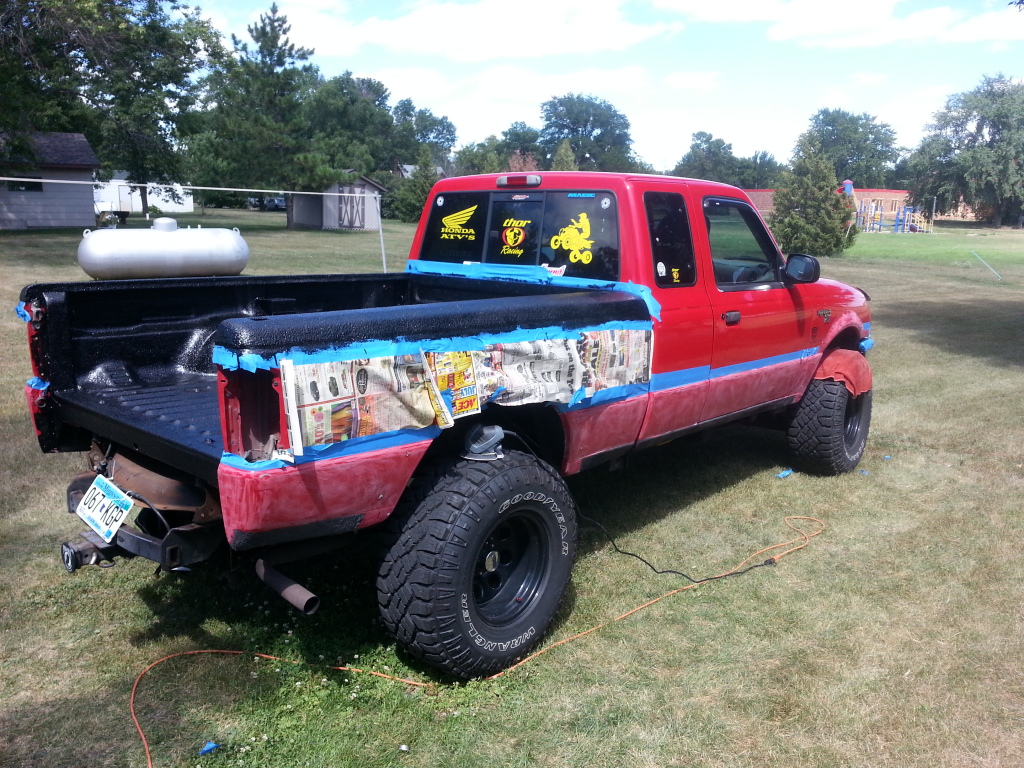
Got the first coat on the rocker panels and fender flare areas..
----------
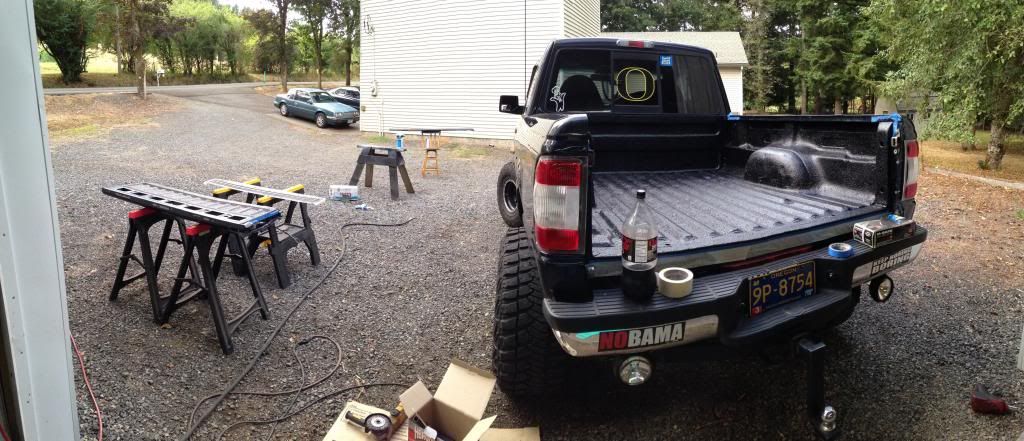
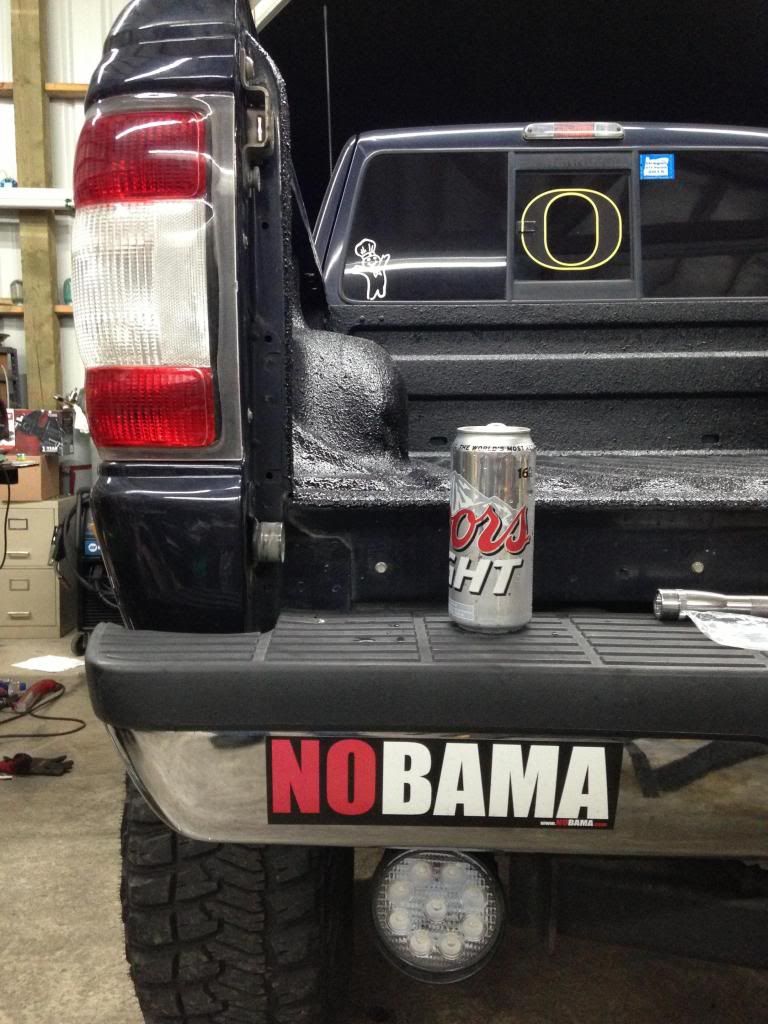
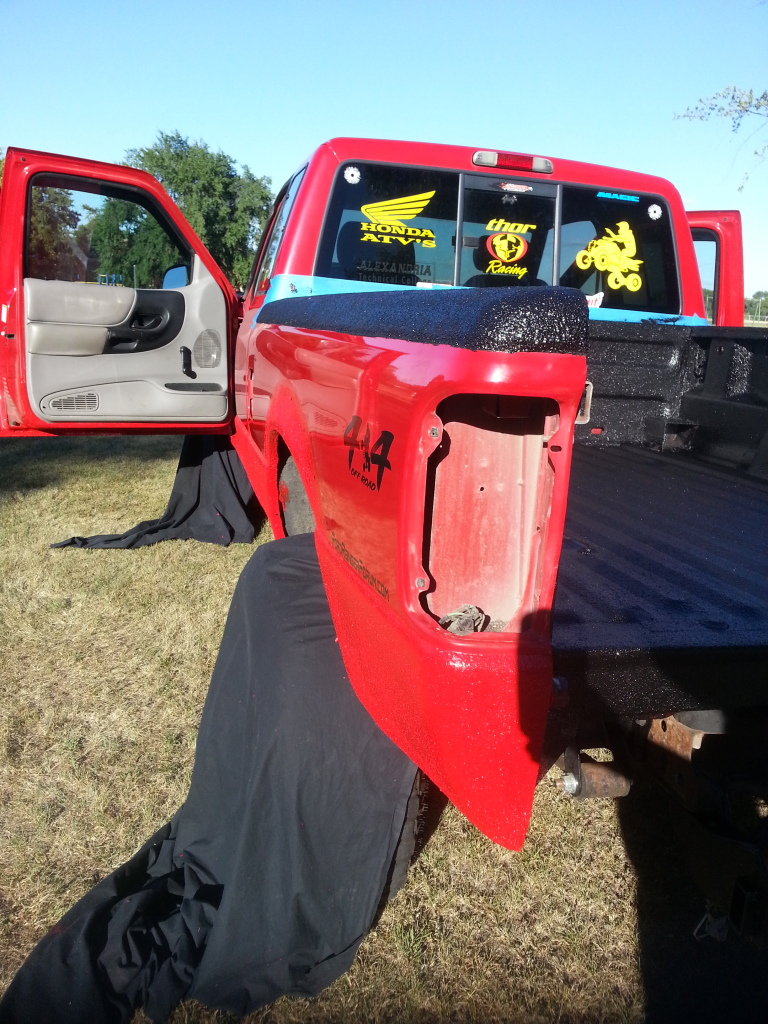
Ive got two coats on everything...i have maybe 1/4 or a tad more of the red textured stuff...i still have a gallon of the smooth stuff...and i have one full gallon of the black herculiner.
Im going to let this dry over night...and if it is sunny out tomorrow i will go thru the other gallon of black..just in the bed....i want it to be THICK!!
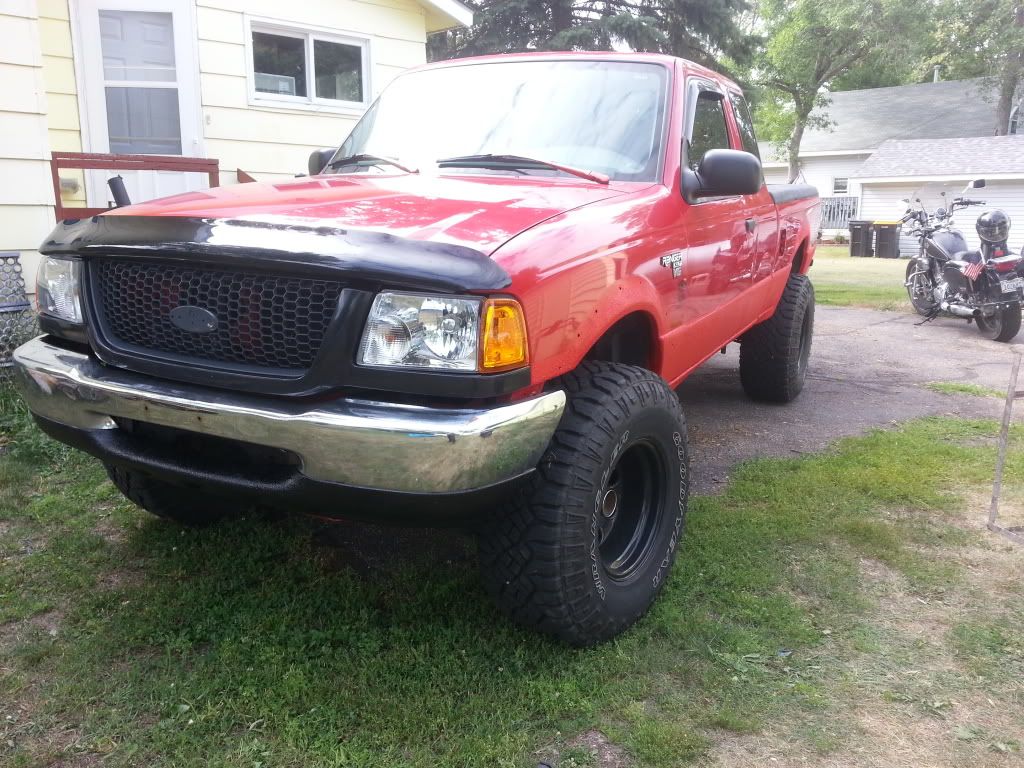
I might use the smooth stuff on my front grill surround..wonder how well it will stick to that plastic.
Also...later on i will prep my step tube bars for the black herculiner too..
----------
----------
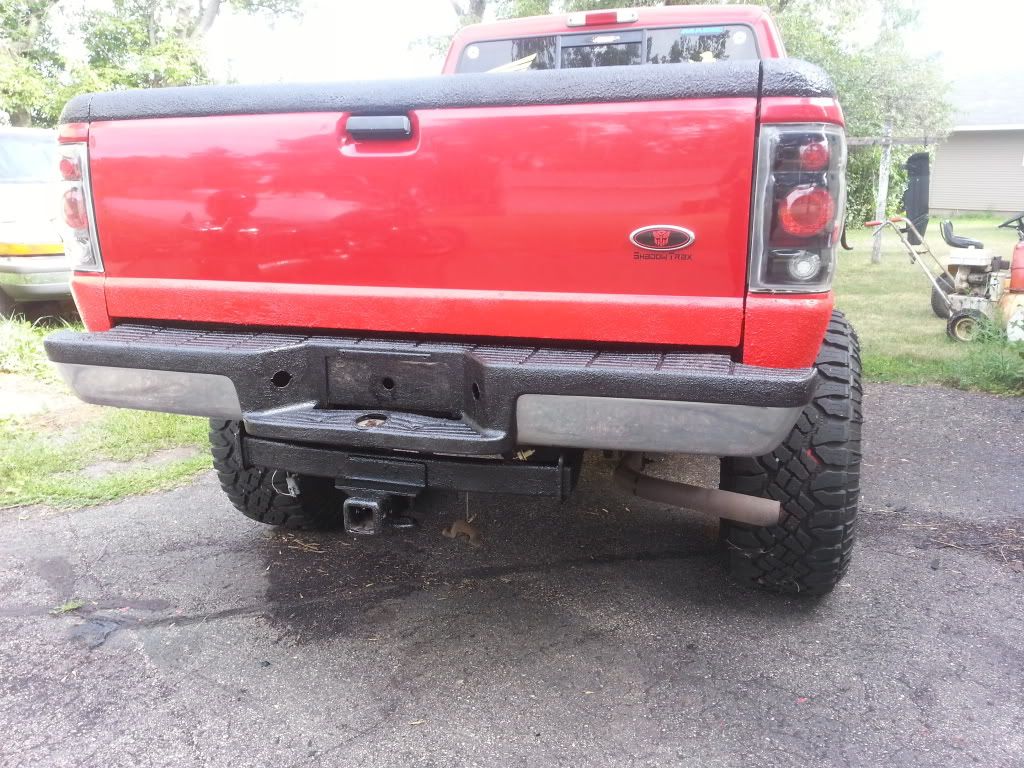
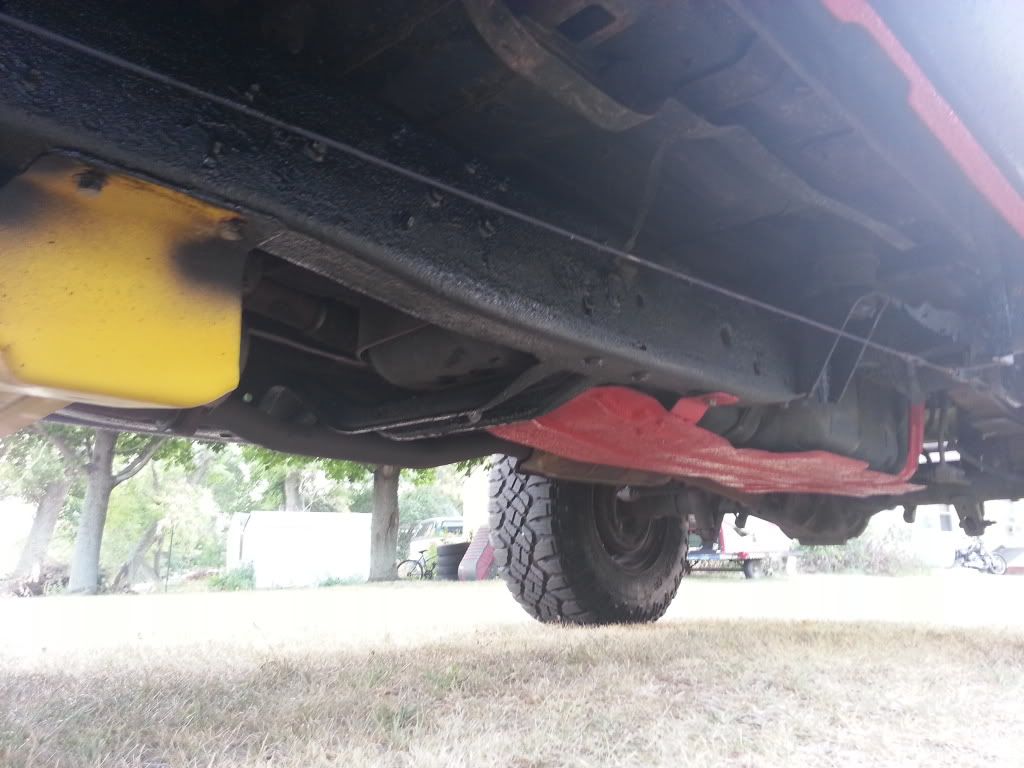
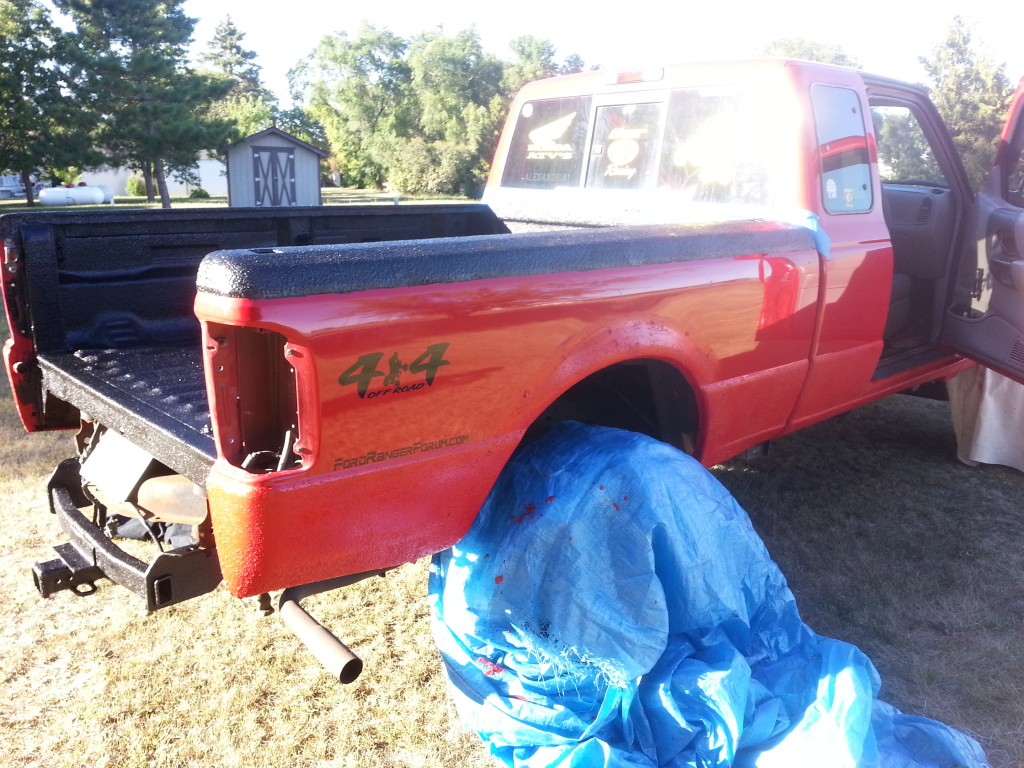
Oh i also threw some black herculiner onto my hitch.
And tomorrow i still have to do the bottom lip of the tailgate in the red too...
i first did my bed of my truck with Herculiner back in summer 2004.
I did not prep enuff..i didnt sand down it enuff and after many years of use...it began to fade odut and peel in areas.
Starting today...i am removing all the herculiner off the bed....and going to reapply it correctly and thicker!!
Removed my fender flares..and rusty gas door
Removed tailgate and rear bumper..
After about an hour of an angle grinder and wire brush on it..
This is a reminder...when doing the DIY bedliners make sure u sand and prep...do it well...or else...
Not sure if i will get this completed by sunday or not..lol..lot of work..
----------
Ok a few hours later and a trip to town on the motorcycle to get more Acetone and another wire brush...this time a knotted wire brush...seems to work alot better..
----------
Im not going to remove the bedliner on the bed rails...when i did those 2 yrs ago i did those the right way...plenty of prep...
I do have one thin rust spot and a hole on the bed by the drivers fender wheel well...
Not sure if i want to just roll the bed liner over it or weld and fill it in...
----------
This was painful...not easy to do..cut out the spot.
----------
New piece to weld in..made two so i have one to test on..lol.
----------
Ok im not use to this crappy flux core welding...i didnt do a professional looking job...and its hard to get up in those ridges and grind...but i think it will be fine once it gets several layers of bedliner on it...
Ok now i gotta get back to removing the old bedliner off the front part of the bed....
----------
The tailgate and bed are done, I'm taking the truck to the car wash to wash them off.
When i get back i will start prepping the rocker panel sides.
----------
Ok i got the 1st coat onto the bed, bed caps, and tailgate...
They say one gallon is enuff to do one 6foot bed....yeah maybe two light coats...
Ive used 3/4 of one gallon..thankfully i planned ahead for going thick, so i have two gallons.
Going to start sanding down the rocker panels for the red Durabak brand bedliner while the black first coat dries..
----------
Got the side panels prepped..
----------
Got the first coat on the rocker panels and fender flare areas..
----------
Ive got two coats on everything...i have maybe 1/4 or a tad more of the red textured stuff...i still have a gallon of the smooth stuff...and i have one full gallon of the black herculiner.
Im going to let this dry over night...and if it is sunny out tomorrow i will go thru the other gallon of black..just in the bed....i want it to be THICK!!
I might use the smooth stuff on my front grill surround..wonder how well it will stick to that plastic.
Also...later on i will prep my step tube bars for the black herculiner too..
----------
----------
Oh i also threw some black herculiner onto my hitch.
And tomorrow i still have to do the bottom lip of the tailgate in the red too...